How to print a Morcano ring.
Printer, PLA, 0.4 mm nozzle, 0.2 mm layer, slicers.
2 min readPrintUpdated 12 Oct 2026
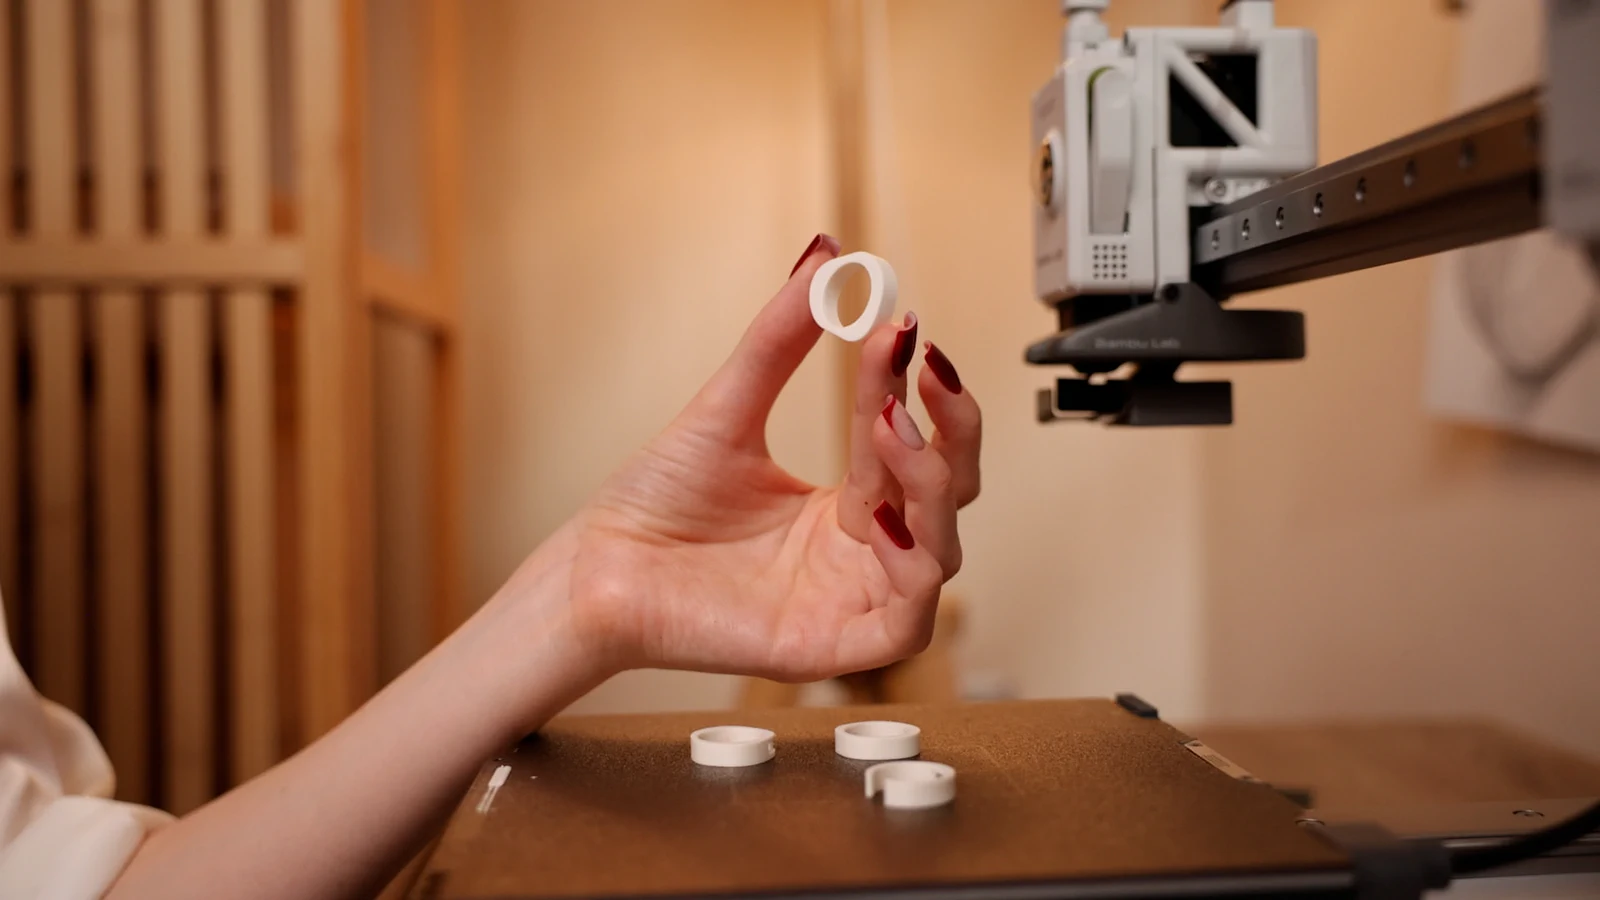
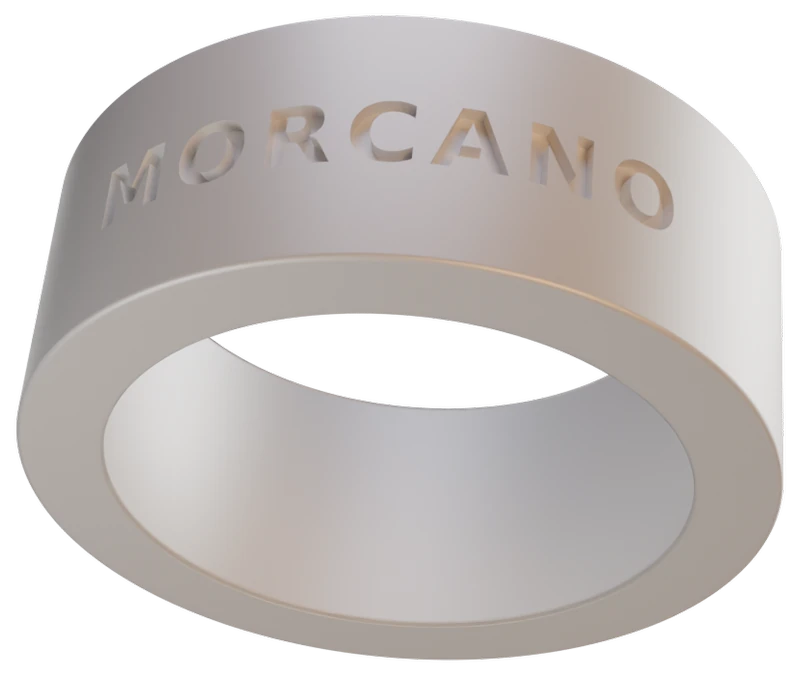
A Morcano ring is exported as STL or 3MF in real millimetres and prints on a home FDM printer with standard PLA and a 0.4 mm nozzle. The studio designs it to print without supports.
Steps
Set size and design
Choose a standard ring size such as US 7. It sets the exact inner diameter, and only the fit changes, not the shape.
Read the status card
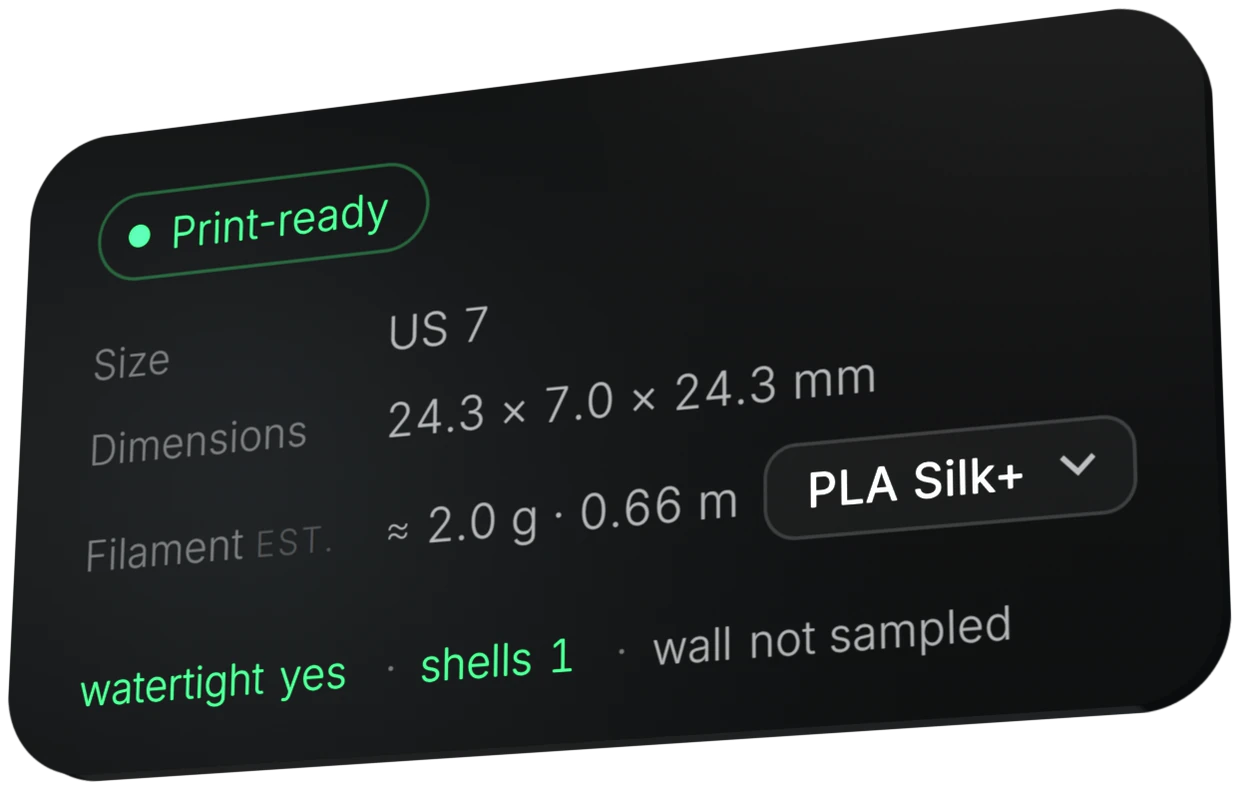
Check Print-ready, the dimensions in millimetres, the filament estimate, watertight yes and shells 1.
Export the file
Download 3MF, which keeps AMS colours, or STL for any slicer.
Open it in your slicer
Bambu Studio, OrcaSlicer and PrusaSlicer can open the files.
Slice and print
Use a 0.4 mm nozzle, standard PLA and a 0.2 mm layer height. The ring is designed to print without supports.
Settings and limits
- Printer
- A home FDM printer. The rings on the Morcano site were printed on a Bambu Lab printer.
- Material
- Standard PLA. The home page status card shows a US 7 ring at 24.3 × 7.0 × 24.3 mm using about 2.0 g, or 0.66 m, of PLA Silk+.
- Layer height
- 0.2 mm is the reference. The default 0.6 mm engraving is three layers at 0.2 mm.
- Estimate accuracy
- Compared with Bambu Studio on the 0.20 mm Standard profile, PLA Basic, 15% infill: filament within 5%, time within 10 to 25%.